
Necromunda Scenarios pt.1
- Nicholas Smith
- Aug 19, 2023
- 7 min read

Greetings everyone, this is Build Monkey here bringing you the start of a brand new series of articles. In this series, we’ll be diving back into the world of Necromunda to investigate the game's scenarios and asking; what are they, how do they play, are they balanced, are they fun to play and how do we at Grey Paints rate them.
In this first part, I’ll be covering the differences between the battlefield types as well as the first 2 scenarios from the Core Necromunda Rulebook. So, let’s get started.
Battlefield Differences
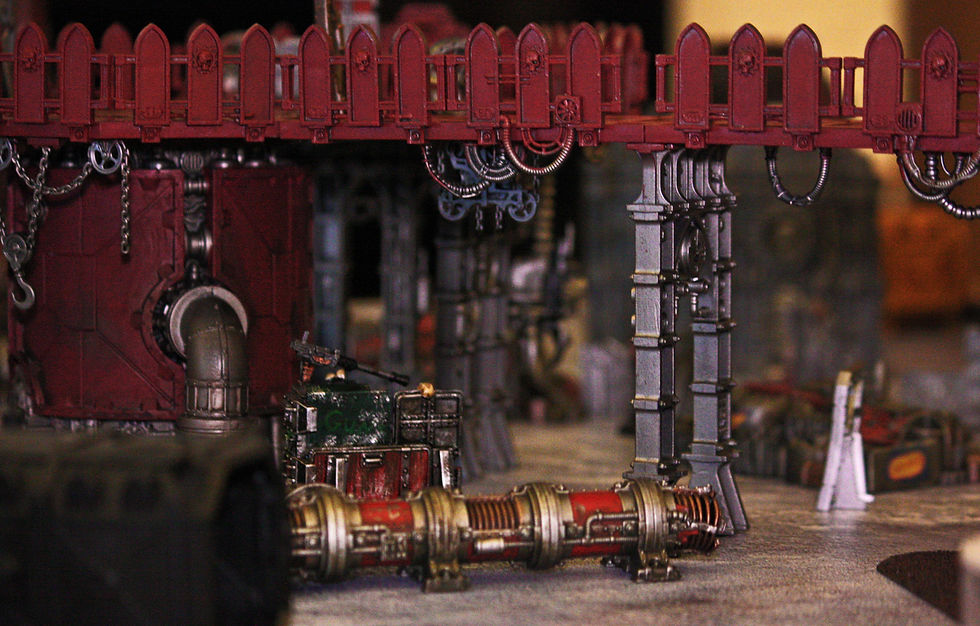
Sector Mechanicus is incredibly free with how you set up any board, as there is very little restriction in how you set up your terrain. All you need is a box of props, which can be anything from Games Workshop built terrain to blocks of interestingly put together Lego. As long as it makes sense to you and your opponent, it works. But where this differs the most from a Zone Mortalis layout (other than the obvious) is in the capability to utilise different elevations, which can really bring an interesting swing into any game. And while these kinds of boards are not only perfect for playing battles utilising the Ash Wastes rules, many of the designated Zone Mortalis terrain pieces can also make a Sector Mechanicus board very interesting to play on, such as the Gang Stronghold and the Underhive Market.

Zone Mortalis itself, on the other hand, is a little more restrictive in that you will need to use a selection of tiles for your battlefield. These can be the ones that come with the Necromunda starter kit, or the plastic floor tiles available from Games Workshop. But while these may restrict your ability to make big interesting open battlefields, these do offer a much more close-quarters, claustrophobic battlefield, which I think suits the dank and dingy rat-runs of the Necromunda Underhive to a T. Building up long corridors and tight corners to restrict line of sight as much as possible can really make your already small models feel even smaller, and while elevation is somewhat possible on a Zone Mortalis board it is a lot more restrictive than an “open-air” Sector Mechanicus board. Games Workshop’s Zone Mortalis Columns and Walls are compatible with their Mortalis Platforms and Stairs (as you’d expect), but rather than giving players a way to potentially gain the upper hand by taking the high ground available, it turns any already close and claustrophobic Zone Mortalis board into an even more twisty turny maze of a fighting area, with the potential to cause a lot of confusion and plenty of interesting moments in any gang battle that’s played on it.
It’s also worth noting though that the Shadow Vault terrain can be used to make up interesting Necromunda boards as well, but because it is incompatible with the Zone Mortalis Floor Tiles you will need to be careful how you use it and where you place it down.
Most scenarios can be played on either a Sector Mechanicus or a Zone Mortalis battlefield, but some do restrict you to either one or the other, so really, there are plenty of possibilities to make your games completely different every time you play, whatever scenario you choose.
Scenarios
Stand-Off
Stand-Off is a Sector Mechanicus scenario, using standard battlefield props over open terrain in a 4ft by 4ft area (or more or less depending on your space, wants and needs). In this scenario, the objective is simple: kill your enemies indiscriminately. Or, force them to Bottle (flee the battlefield). The battle ends with there are no members of your enemy's gang left because they’ve been made to go Out of Action, either by bloody and merciless death, or just making them run for the hills.
Victory is obtained by not only being the last gang standing, but by controlling the most points from the battle by eliminating your opponents gang members: 3 for Leaders, 2 for Champions, and 1 for everyone else (note: you can’t gain points for any gang members who have Bottled). It is however entirely possible to be the last gang standing and still lose the battle through points. For example, if you made your opponent bottle the fight but they had already eliminated a higher number of your own gang members, then this would award them the victory instead. As such, it’s important to be tactical during play.

Standard crew selections are made for this scenario up to a total of 10 crew members in each gang (unless you have a particular rule for your gang that allows you to take more than the standard limit… I’m looking at you, Cawdor). Crews can either be chosen randomly from each player's available gang fighter cards, or you could mutually agree on a credit limit for your gangs to be built to. Deployment for each player's gang then uses the standard deployment rules: opposing corners or board edges, 12” from the edge of the board but not within 6” of the edge of the board itself.
Each player begins play with 2 Tactics Cards, but it is important to consider the difference in total credit costs for each player's gang list. The player with the fewer overall credits gains an extra Tactics Card for each full 100 credit difference between the gangs that are being brought to the battlefield.
Rewards are available for this scenario, but they only apply to those playing a Necromunda campaign.
For this scenario the rewards are the following:
Credits - The winning player rolls D6x10 and receives the total in credits, while the losing player rolls D3x10. If the battle is a draw, then both players roll D6x5 instead.
Experience - Each gang member who took part in the battle receives 1xp, as well as 1 additional xp for each individual gang member that took an opponent Out of Action (which increases to 2xp for taking out Champions and 3xp for Leaders). The Leader of the gang gains 2xp, whether they participated in the battle or not.
Reputation - Each gang gains 1 point in Reputation for participating in the battle, as well as an additional 1 point if this was the first time both gangs faced each other. The winner gains an additional point for, well, winning, but if either of the gangs were made to Bottle, then they lose a point of Reputation instead.
Overall, this is an incredibly well balanced scenario. It has plenty of flexibility for playstyle, both for range geared gangs and close combat gangs, but because of the lack of defined walls it can mean a lot more open space for gang members to traverse. If your gang isn’t blessed with Movement, then this could make things a bit more interesting. But either way, it’s just incredibly fun to not have a particular objective in mind other than a team battle-royale with bolt pistols and grenade launchers. Playtime can last anywhere from 2 to 3 hours, or more, which it quite often does between me and my friends.
Grey and I give this scenario a rating of 4 ½ thrones out of 5. It’s not perfect, but it’s a classic.
Tunnel Skirmish
Tunnel Skirmish is a Zone Mortalis scenario that utilises 4 or 6 Zone Mortalis tiles to make up the battlefield in either a 2x2 or 3x2 grid. As with the previous scenario Stand-Off, the objective of this scenario is to eliminate all of your opponents or make them flee the battlefield. The battle ends when there is only one gang left standing.
Again, as with Stand-Off, victory is obtained by controlling the most points overall via making your opponents gang members go Out of Action.

Crew selections are made using standard rules, but the total number in each gang will differ depending on how many tiles you choose to make up your battlefield. If you are playing on 4 tiles, then each gang can have up to 6 members. With 6 tiles, then this number increases to 10 (or more if your gang simply ignores these restrictions… Cawdor?). Deployment also uses standard rules for Zone Mortalis, which means that each player sets up their gang in opposing corner tiles or on opposing edge tiles of the battlefield, but not within 6” of the outermost edge of the board.
Once again, each player begins the game with 2 Tactics Cards each, but the player with the fewer points gains an extra Tactic Card for every 100 points difference between the gangs being brought to the battlefield.
This scenario’s rewards are the following:
Credits - The winning player rolls D6x10 and receives the total in credits, while the losing player rolls D3x10. If the battle is a draw, then both players roll D6x5 instead.
Experience - Each gang member who took part in the battle receives 1xp, as well as 1 additional xp for each individual gang member that took an opponent Out of Action (which increases to 2xp for taking out Champions and 3xp for Leaders). The Leader of the gang gains 2xp, whether they participated in the battle or not.
Reputation - Each gang gains 1 point in Reputation for participating in the battle, as well as an additional 1 point if this was the first time both gangs faced each other. The winner gains an additional point for winning, but if either of the gangs were made to Bottle, then they lose a point of Reputation instead.
All in all, this is a very fun scenario and other than it being played using the Zone Mortalis tiles, its ruleset is more or less the same as Stand-Off in terms of play. It’s a lot more claustrophobic using the smaller play-space, bringing your gang members a lot closer together which is a potential death-sentence for a gang that relies on ranged attacks, but it is relatively well balanced. However, this can change depending on how the board is put together; lots of tight corridors make great places for melee fighting mincers to lay in wait, but if you’re lucky and can hole your sniper up at the end of a long corridor, then you’ve effectively given yourself an xp-grinding target shooting range. Playtime can typically last anywhere from 2 to 3 hours (or more if you’re having too much fun) because of the small size of the board.
Between Grey and me, we rate this scenario at 4 thrones out of 5, because if you’re lucky then the board you play on will be perfect for your gang. But there are too many chances for it to go the other way and make the battle a bit more of a slog than it needs to be.
And with that, we conclude the first in this brand new series of articles. Stay tuned for part 2 where I’ll be looking over some more of these scenarios.
Until next time!
_____
Hi, thank you for reading my article. I hope you enjoyed it and that it was useful to you. Articles like these take a lot of time to research and write, so if you did enjoy it or found it useful maybe you’d be so kind as to drop me a donation. That way I can continue to fund the products and books I need to keep delivering high quality articles like this.
You can donate to me at https://ko-fi.com/graypaints
For updates when I release an article, why not Subscribe and join us on our Social Media pages?


Comments